Instagram is not just about resizing a photo or changing its colors. Some photo editors show this by having features that matches Instagram’s creativity. There are editors that allow you to create collages. There are also editors that allows you to add in text or animations in your photos. Know how to use an Instagram photo editor by reading this guide.
How to use Instagram photo editor?
How to make collages?
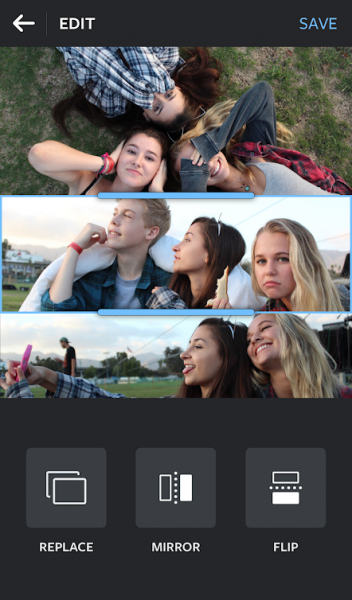
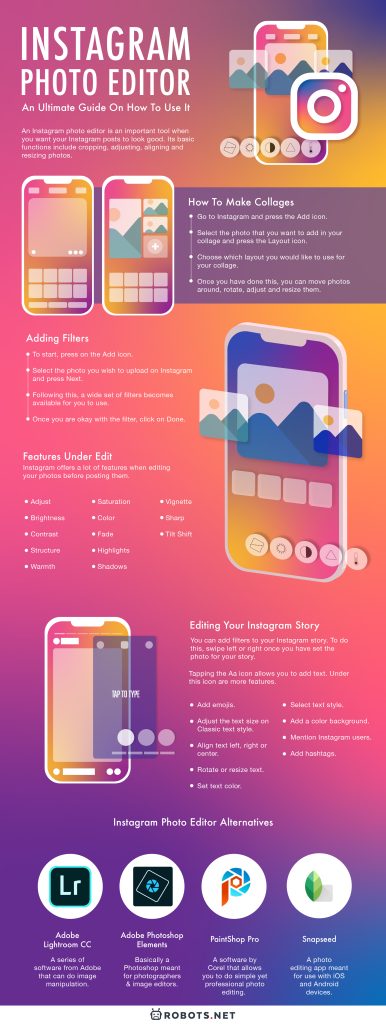
Collages involve compiling many photos into a single photo. On Instagram, collages can compile a lot of photos to fit into one Instagram post. To create a collage for an Instagram post, you need to use Instagram Layout. Instagram Layout is the official app to create collages on Instagram. The app is available for mobile devices such as Android and iOS devices. Layout gives you an easy, effective and secure way to create collages for Instagram. To create a collage with Layout, press the Add icon on Instagram. Then, choose an image you wish to use. After this, press on the Layout icon which is an icon that contains grids. A pop-up would appear where you need to tap Get Layout. Following this, the Android Play Store or the iOS App Store will appear displaying the Layout app. Press Install for Android devices or Add for iOS devices. This will install the Layout app on your mobile devices. Then, head back to Instagram and press the Add icon again. Select the photo that you want to add in your collage and press the Layout icon. After this, you can choose up to nine photos to add to your collage. You then choose which layout you would like to use for your collage. Once you have done this, you can move photos around, rotate, adjust and resize them. Once you are okay with your collage, press Next. You can do final touches on your collage by picking on filters or adjusting its colors. Once done, you can now upload your collage to Instagram.
Adding filters
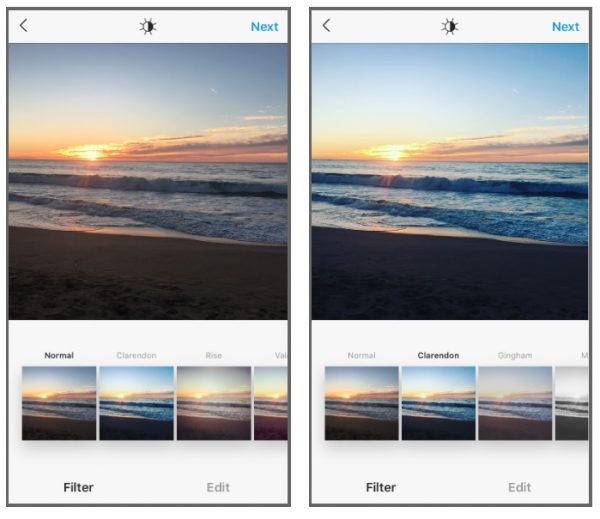
Instagram allows you to add filters to your photos before uploading them. To start, press on the Add icon. After this, select the photo you wish to upload on Instagram and press Next. Following this, a wide set of filters becomes available for you to use. You can also adjust the filter strength using a slider that you can move left or right. Once you are okay with the filter, click on Done. When your photo’s filter is now okay, press on Next. You can then add a caption and a location to your photo. Once you have done this, press on Share which uploads your photo on Instagram.
Features under edit
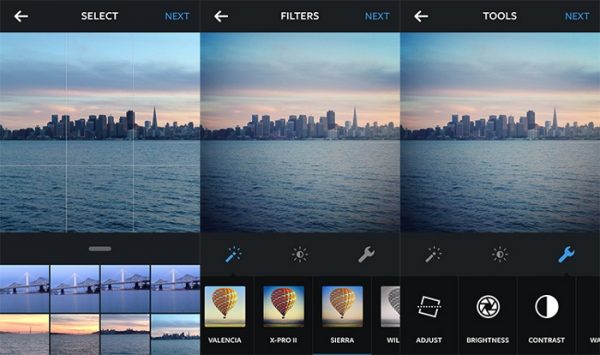
Instagram offers a lot of features when editing your photos before posting them. To access these features, press the Add icon and choose the photo you want to upload on Instagram. Then, press on Next and then Edit. This will give you access to features that allow you to edit your photo which are as follows. Tapping Adjust will allow you to change your photo’s vertical or horizontal perspective. Brightness allows you to make your photo brighter or darker. Contrast can add brightness to your photo’s bright areas or add darkness to the dark ones. Structure adds detail and texture in your photo. Warmth can adjust your photo’s colors towards warmer orange or cooler blue tones. Saturation increases or decreases your photo’s color intensity. Color adds color to the shadows or highlights of a photo. Fade can make your photos look older. Highlights can adjust the focus on your photo’s bright parts. Shadows adjusts the focus on your photo’s dark parts. Vignette adds a dark edge to your photo. Sharp can help make your photo appear clearer. Tilt Shift can either give a shallow field depth or focus on a subject in the background. Tapping the magic stick icon auto-adjusts the exposure and brightness of your photo.
Editing your Instagram story
Before posting your Instagram story, some features allow you to edit it first. You can add filters to your Instagram story. To do this, swipe left or right once you have set the photo for your story. Other available features are accessible on your screen. The following features allow you to edit your Instagram story even further. Tapping the Aa icon allows you to add text. Under this icon are more features.
Add emojis. Adjust the text size on Classic text style. Align text left, right or center. Rotate or resize text. Set text color. Select text style. Add a color background. Mention Instagram users. Add hashtags.
Pressing on the curved line icon unlocks access to more editing features.
Choose brushes and drawing tools. Adjust line thickness. Choose color to draw with.
Upload directly from camera
Aside from downloading Instagram photos, users can edit and upload photos taken straight from their device’s camera. To do this, press on the Add icon. After this, press Photos. This will set you up to take a photo using your device’s camera. The following features will appear. Tapping the circling arrow lines icon switches between your front and rear camera. Pressing the lightning icon adjusts the flash of your camera. Finally pressing the white circle takes the photo with your camera. Once you have taken the photo, you can edit it like the other photos uploaded on Instagram. After being okay with the edits of your photo, pressing Share uploads it on Instagram.
Uploading from camera roll
The usual way of posting content on Instagram is by uploading it from your camera roll. To do this, press on the Add icon. Following this, Library shows up by default. This contains a small preview of the photos saved on your camera roll. There is an option on top of the screen to sort the photos. Once you have chosen a photo for upload, click Next. After this, swiping left or right will place a filter on the photo.
Using AR filters
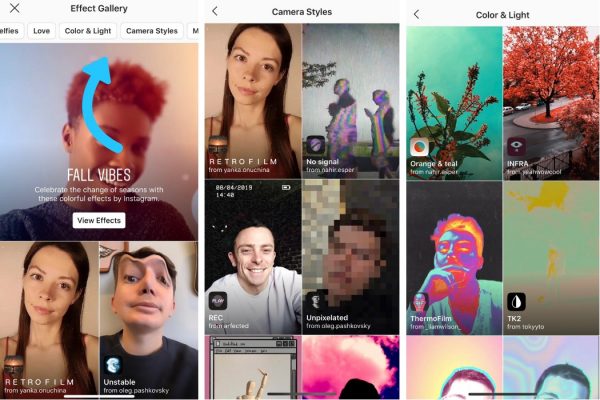
AR stands for augmented reality. This technology can place computer-created images on a user’s view of the real world. Instagram also uses this technology in the form of AR filters which users can place on their photos. To activate AR filters, head to Your Story and create a new story. This brings you to the Instagram camera by default. AR filters are accessible by clicking on the series of icons to the right of the capture button. These icons represent various AR filters available for you to use.
Other features on Instagram
There are other features for photo editing that users can use on Instagram. One such feature is boomerang. This refers to a set of photos that can plays back and forth in a loop. You can use this feature primarily on your Instagram stories. To create a boomerang, head to Your Stories and create a new one. Then, select Boomerang on the lower part of your screen. Pressing the white circular button would start recording a boomerang. Once you have created the boomerang, post it on your Instagram story. There is also hands-free video recording for Instagram stories. This allows you to start recording a video with only one tap. This is in comparison to the usual way of pressing and holding the button. To use this feature, head to Your Stories and create a new story. Then, swipe left at the bottom part of the screen and select Hands-Free. A video would now then record for your Instagram story. You can also do live videos on Instagram. For this feature, you can start by tapping the Camera icon or swiping right on your feed. Then, find Live and then press the live video icon. This starts your live video. To end it, simply press the button that has an arrow pointing towards a flat line. Your live video would then save on your camera roll.
Instagram photo editor alternatives
There are a lot of Instagram photo editor alternatives out there. These alternatives are also useful in improving the look of your Instagram photos.
Adobe Lightroom CC
Adobe Lightroom is a series of software from Adobe that can do image manipulation. There’s so many things you can do if you know how to use Lightroom. Users can edit photos on Lightroom but it is not similar to Photoshop. Unlike Photoshop, Lightroom cannot do image doctoring and text or 3D rendering. Instead, Lightroom does image retouching and image enhancement. Lightroom CC is one of the software of this series. This software allows you to use it on your computer, phone or tablet. It is completely Internet-based with files stored on the cloud. Compared to other software in the series, Lightroom CC has limited functionality. Despite this, it is useful enough to be an Instagram photo editor.
Adobe Photoshop Elements
Adobe Photoshop Elements is basically Photoshop meant for photographers and image editors. This is a stripped-down version of Photoshop for use by photo enthusiasts and hobbyists. Photoshop Elements is capable enough to do the most basic image enhancement. You can change colors in a photo. It is also capable enough to do stuff like red-eye corrections.
PaintShop Pro
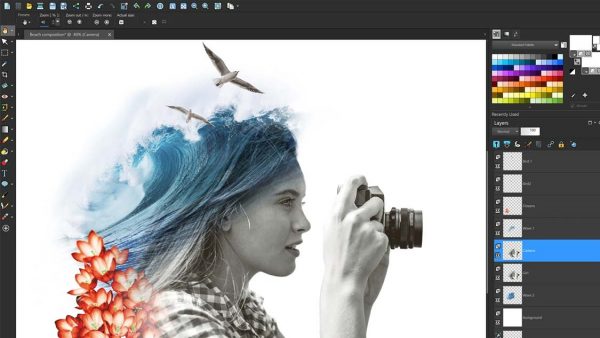
PaintShop Pro is a software by Corel that allows you to do simple yet professional photo editing. Aside from being a photo editor, PaintShop Pro is also used to create graphics. The software features a lot of tools that makes photo editing easy. Like a photo editor, it has HDR effects, RAW lab, batch processing, and templates. You can also create graphics with its use of layers and masks and draw and paint tools. There are also advanced features such as artificial intelligence and 360 degrees editing.
Snapseed
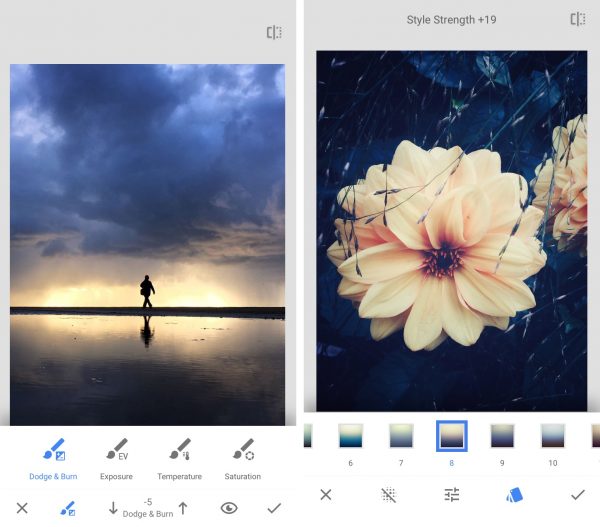
Snapseed is a photo-editing app meant for use with iOS and Android devices. Despite being an app for mobile devices, it features a lot of useful tools for photo editing. The app has tools such as tune image, crop, transform, rotate and brush. You can also add in filters and special effects to your photos. The app is also able to import high-quality photos for better edits.
Uploading photos on Instagram on PC or Mac
Currently, you cannot upload photos on Instagram on your PC or Mac. But, there are ways to do these by using these software.
Vivaldi
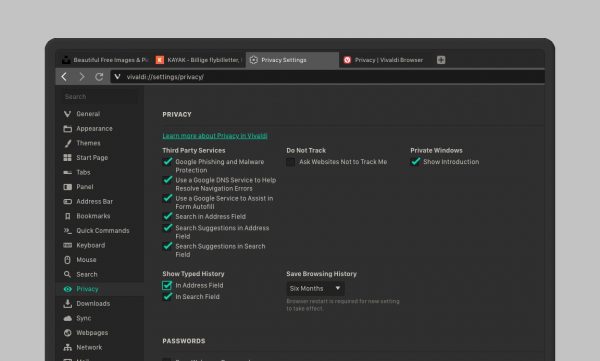
Vivaldi is a web browser created by Opera Software co-founder Jon von Tetzchner. The browser is primarily aimed at users who wanted a return to the old Opera browser. While aimed at the technically-inclined, Vivaldi is aiming for wider adoption. First, download and install the web browser from the Vivaldi website. Then, once the browser is set up, add Instagram as a web panel. Web panels are a Vivaldi feature that allows you to easily access and view a website. To do this, press the plus icon and type in Instagram’s URL. You can also open the Instagram website, then press right-click and select Add Page to Web Panel. Once you add Instagram as a web panel on Vivaldi, it opens by default on its mobile version. Since it is now on its mobile version, you can now upload photos on Instagram from your PC or Mac.
Bluestacks App Player
Bluestacks App Player is an Android emulator that you can use on your PC or Mac. This software allows you to pretty much copy how an Android device works. Know more about Bluestacks by checking out this article on Android emulators. You can install Bluestacks on your PC or Mac by heading to its website and running its installer. Then, open Bluestacks and log-in with your Google account. Following this, Bluestacks should be up and running. Download the Instagram app and then run it like how you do it on an Android device. You should be able to upload photos from your PC or Mac while running Instagram on Bluestacks.
Desktop for Instagram
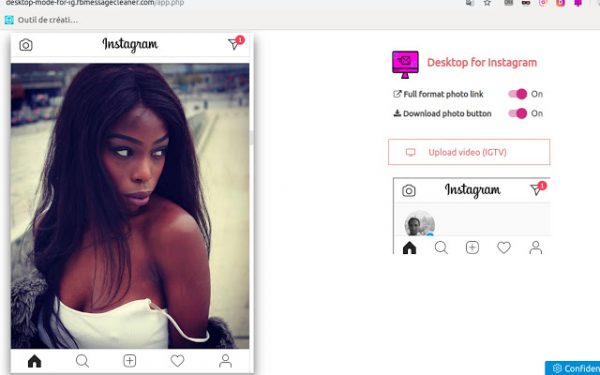
Desktop for Instagram is an extension available for Google Chrome. This allows you to access the web mobile version of Instagram from your PC or Mac’s Chrome browser. To do this, download and install this Chrome extension. Once you do this, you can log-in to your Instagram using the Desktop for Instagram extension. It allows you to upload photos on desktop for Instagram posts and Instagram stories.
